
Clearhead's online booking integration means clients can book appointments directly into your calendar at times when you're available. No one can see the details of your calendar, only when you're free.
You can set up online booking with any type of digital calendar from your provider portal.
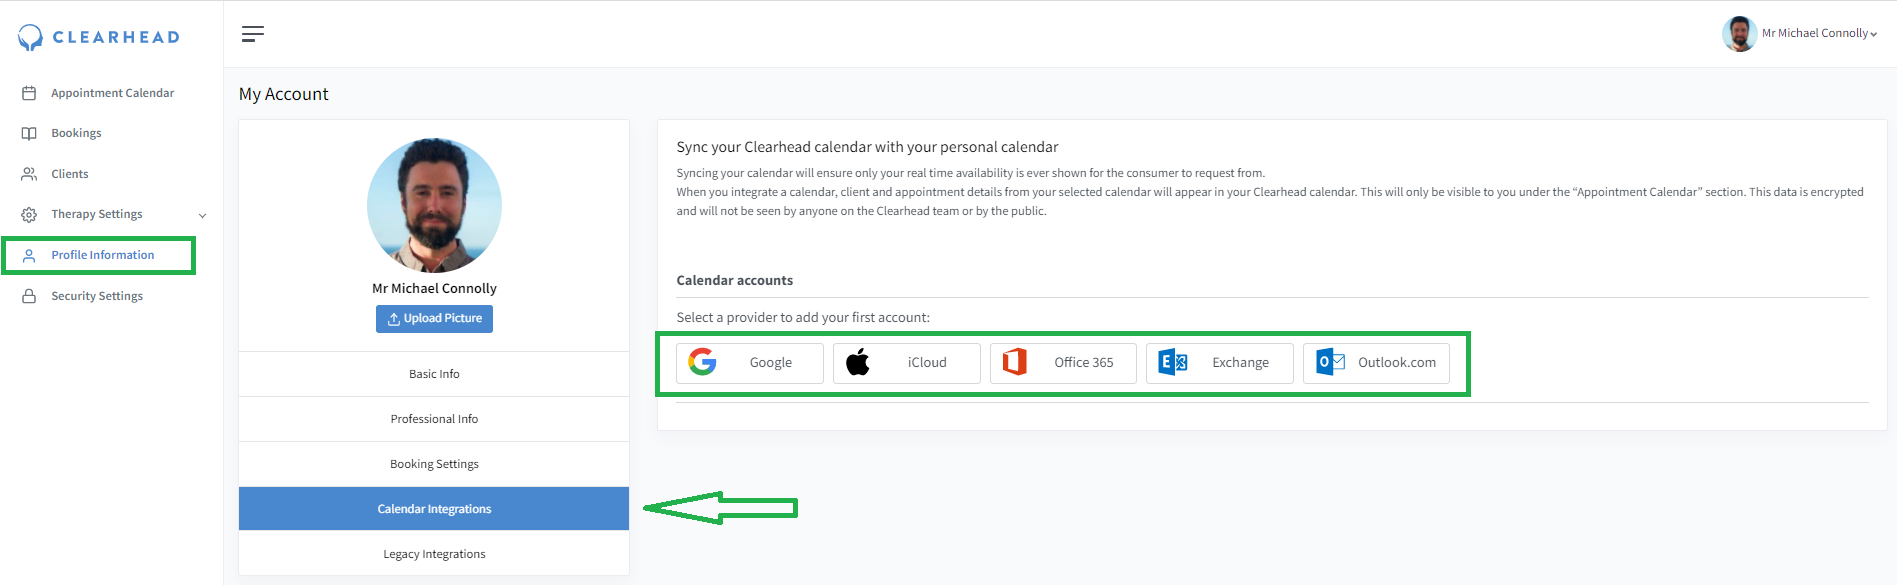
- In the left-hand navigation panel, select Profile Information.
- Under your profile picture, click Calendar Integrations.
- Select the type of calendar you use: Google, iCloud, Office365, Exchange or Outlook.
4. You'll get a message to say 'Clearhead is using Cronofy to securely access your calendar so it can see and add to your schedule.' You will need to agree to the terms and conditions before selecting Link account.
5. This will take you to your sign-in page. Login to your account as normal.
6. When asked, Allow Cronofy to access your account? select Allow.
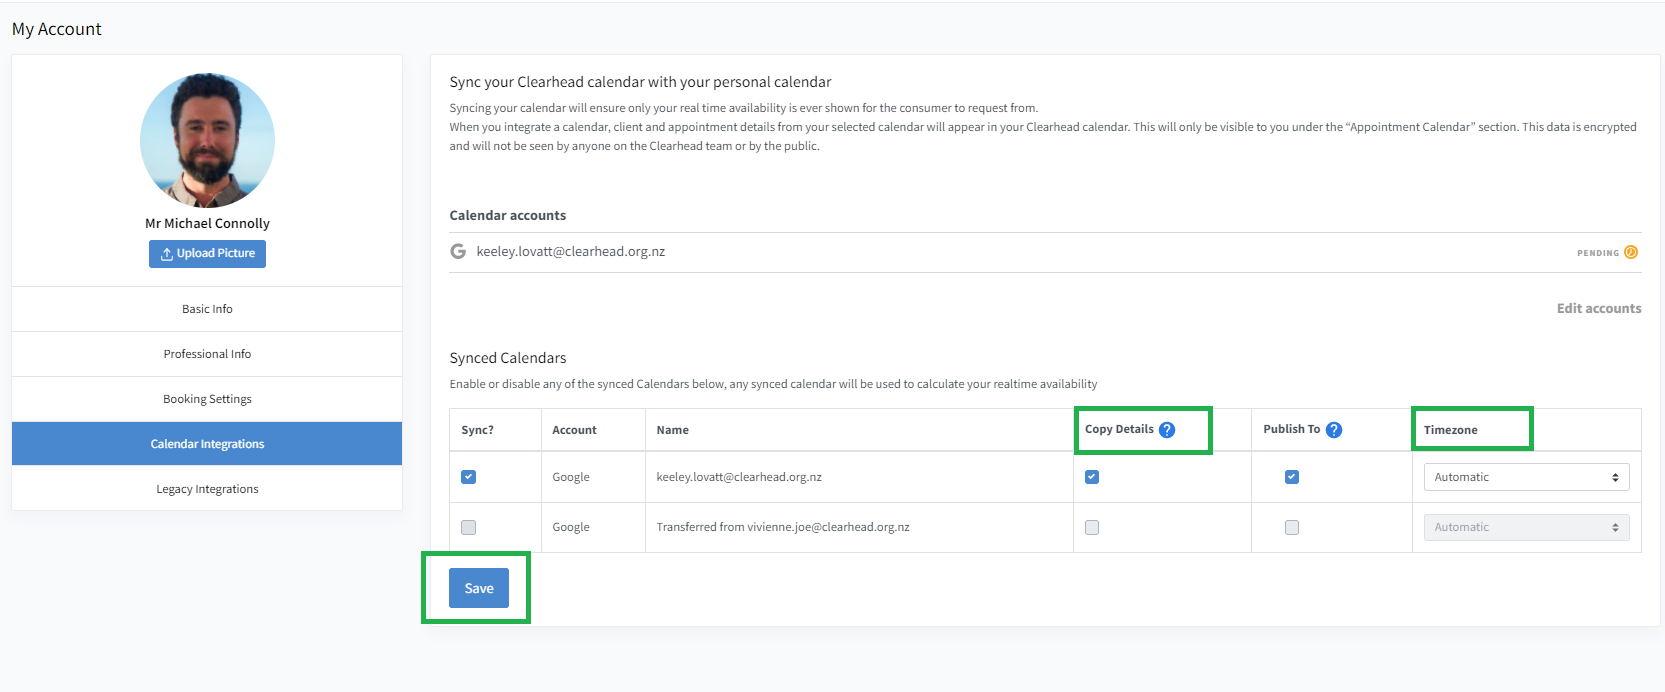
7. You can untick Copy Details if you do not wish for any client details (e.g. name) to be synced from your personal calendar to your Clearhead calendar. This will instead just block out the time.
8. Click Save. Your calendar items will then automatically sync across to your Clearhead calendar. It can take anything from a few minutes to a few hours to update, depending on how many items need to be synced from your calendar.
Please note: It's worth reiterating that your calendar information will never be visible to the public or the Clearhead team. Users can only see the times where you're available for bookings.
To delete your calendar
1. Select the Edit Accounts button

2. and then, select the cross (X) button that appears next to your email address
